Getting started: R Markdown Courses
An R Markdown / Bookdown-based course template with a table of contents on the side. Supports publishing to Coursera and Leanpub. Best choice when you have existing .Rmd files to build on. If you are starting fresh or already have .qmd files, use the Quarto course setup guide.
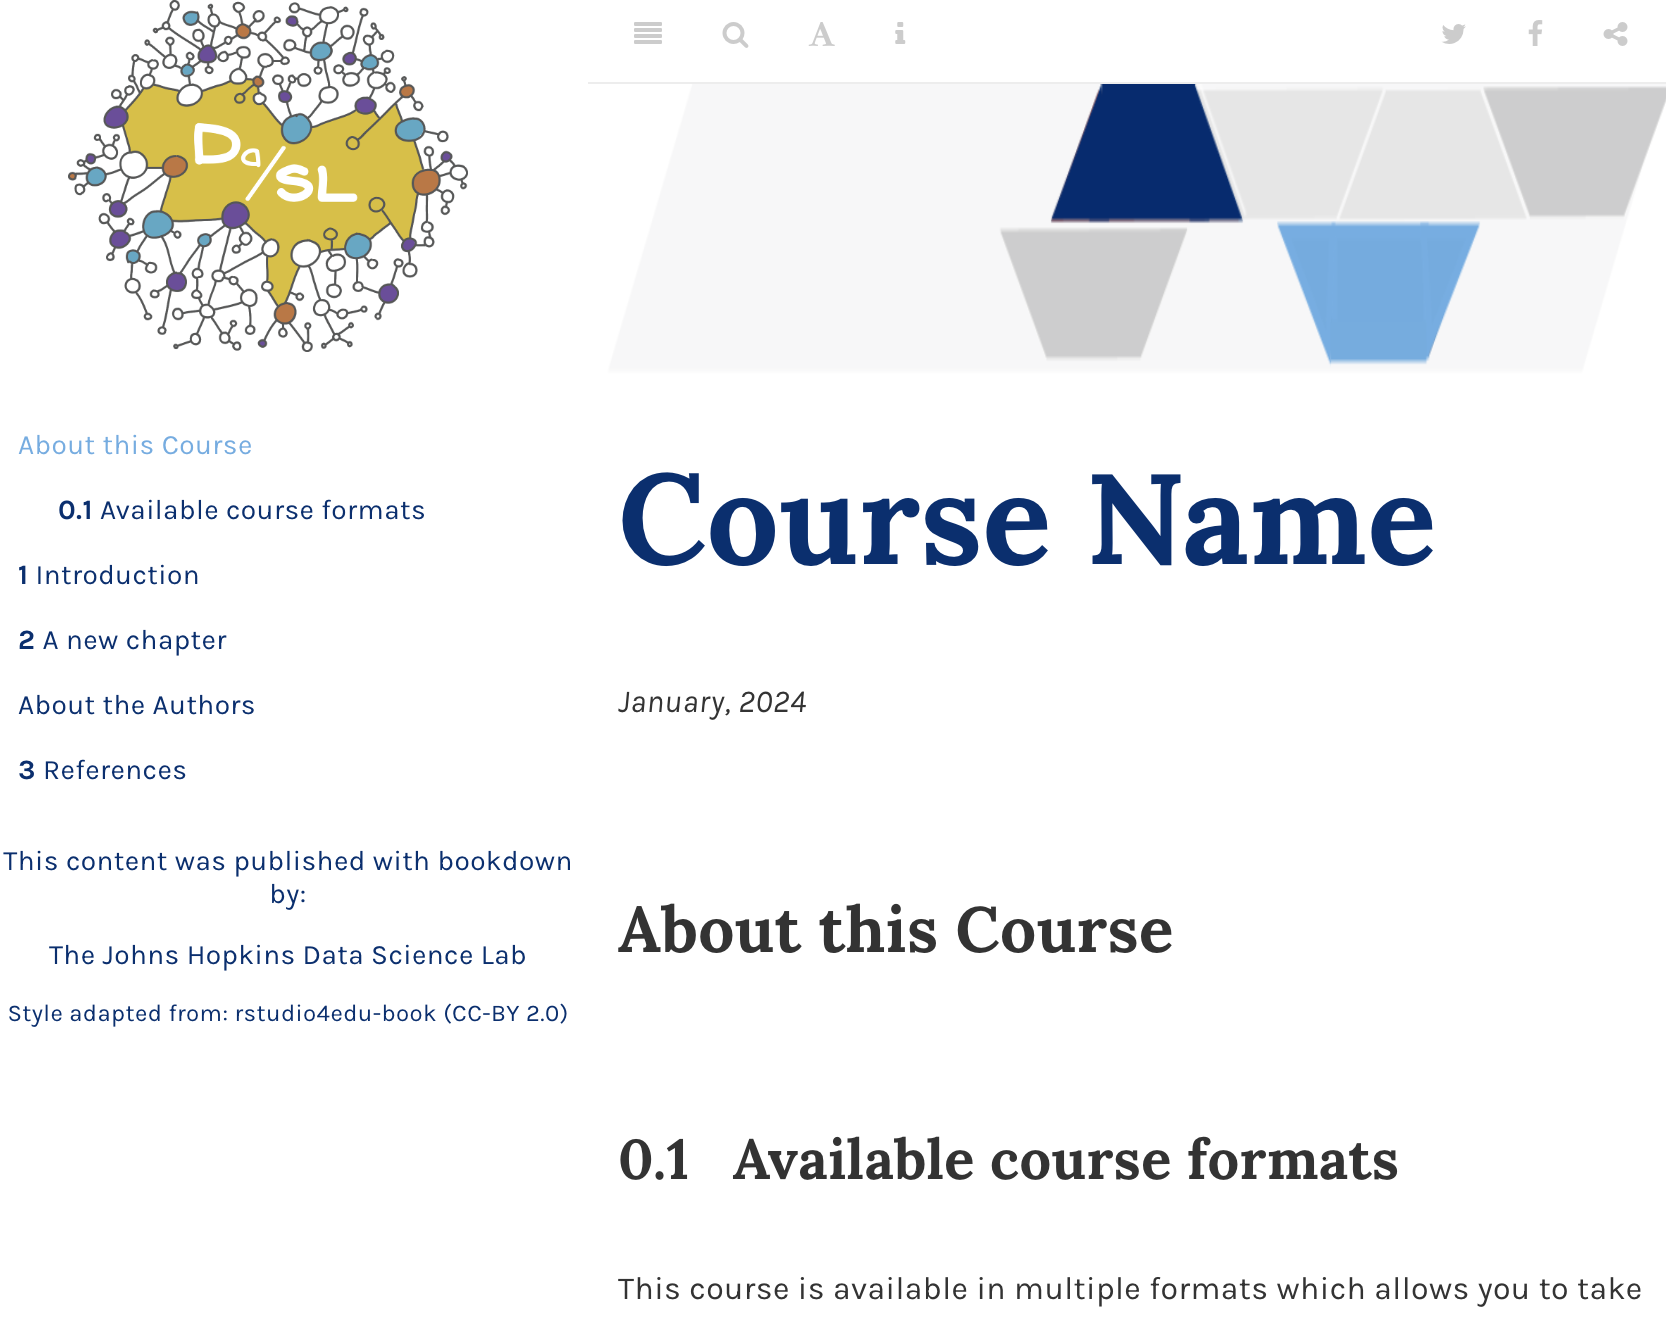
1. Create a repository from the template
On the landing page of the OTTR_Template repository, locate the green Use this template button in the upper right corner. Click it, then select Create a new repository and follow the instructions to configure your repository.
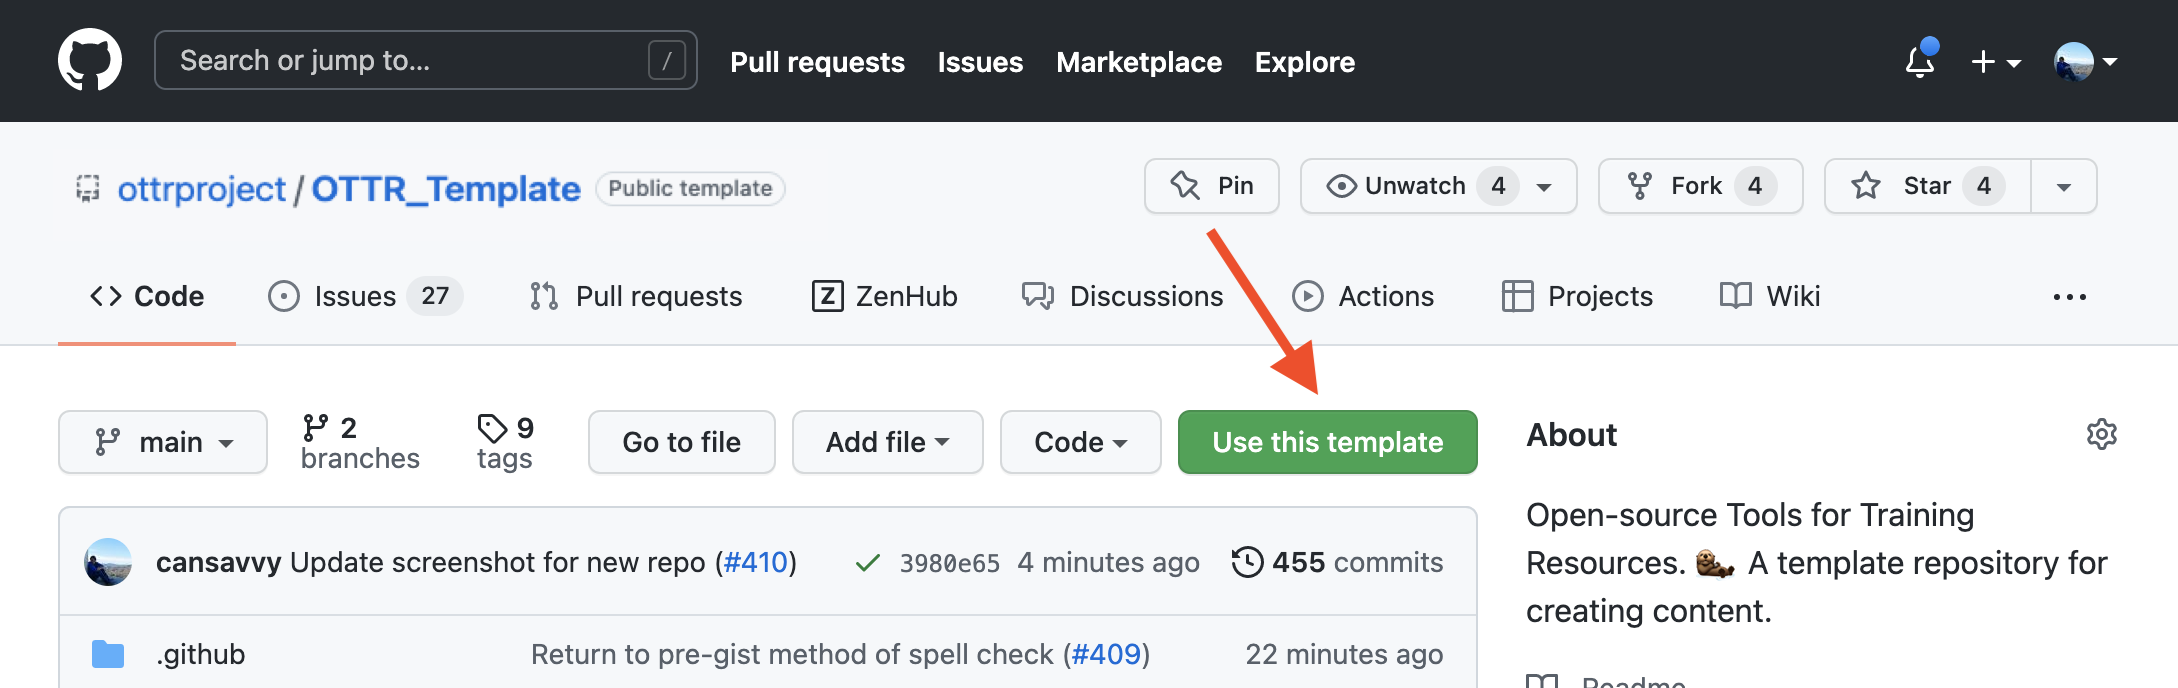
2. Name your repository and fill in a short description
Enter a name in the Repository name field and provide a brief description in the Description box.
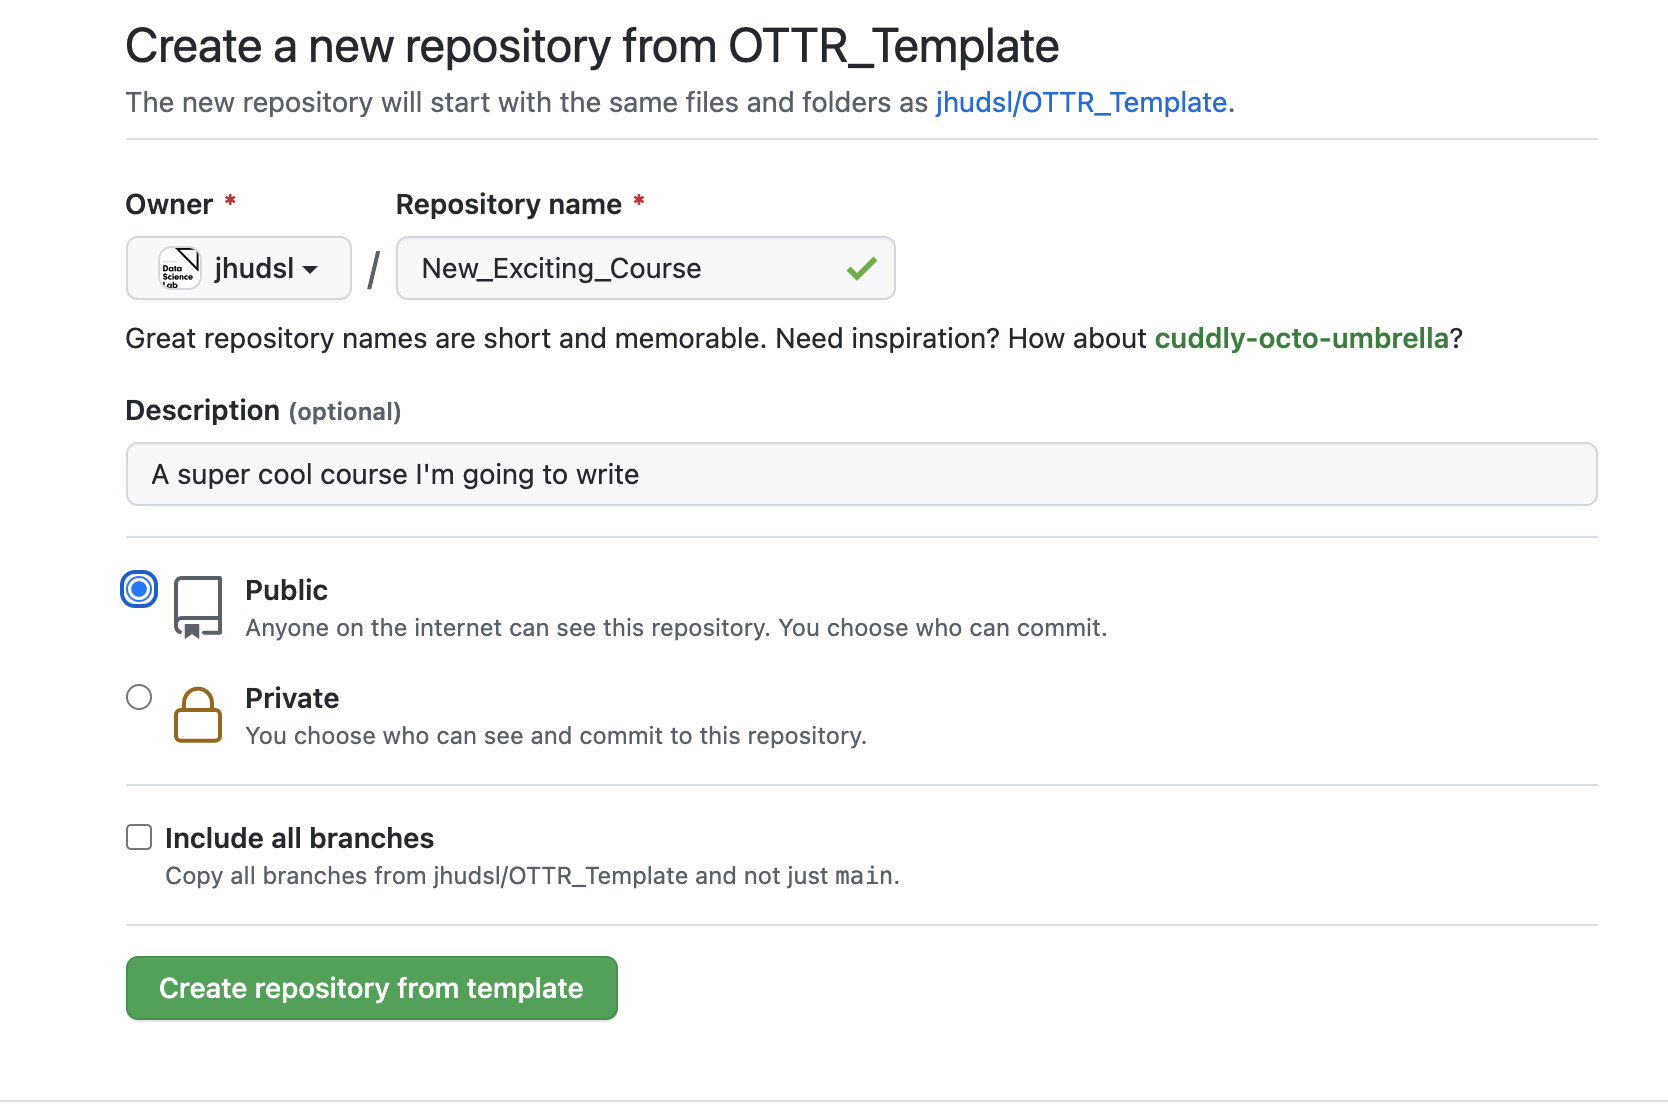
3. Ensure your repository is set to public
Make sure to set it to a public repository. The rendered pull request preview won’t work on private repositories (though you can preview content locally).
4. Click Create repository from template to proceed
After creating your repository, issues with setup instructions will be automatically filed. Navigate to the Issues tab and follow the instructions there.
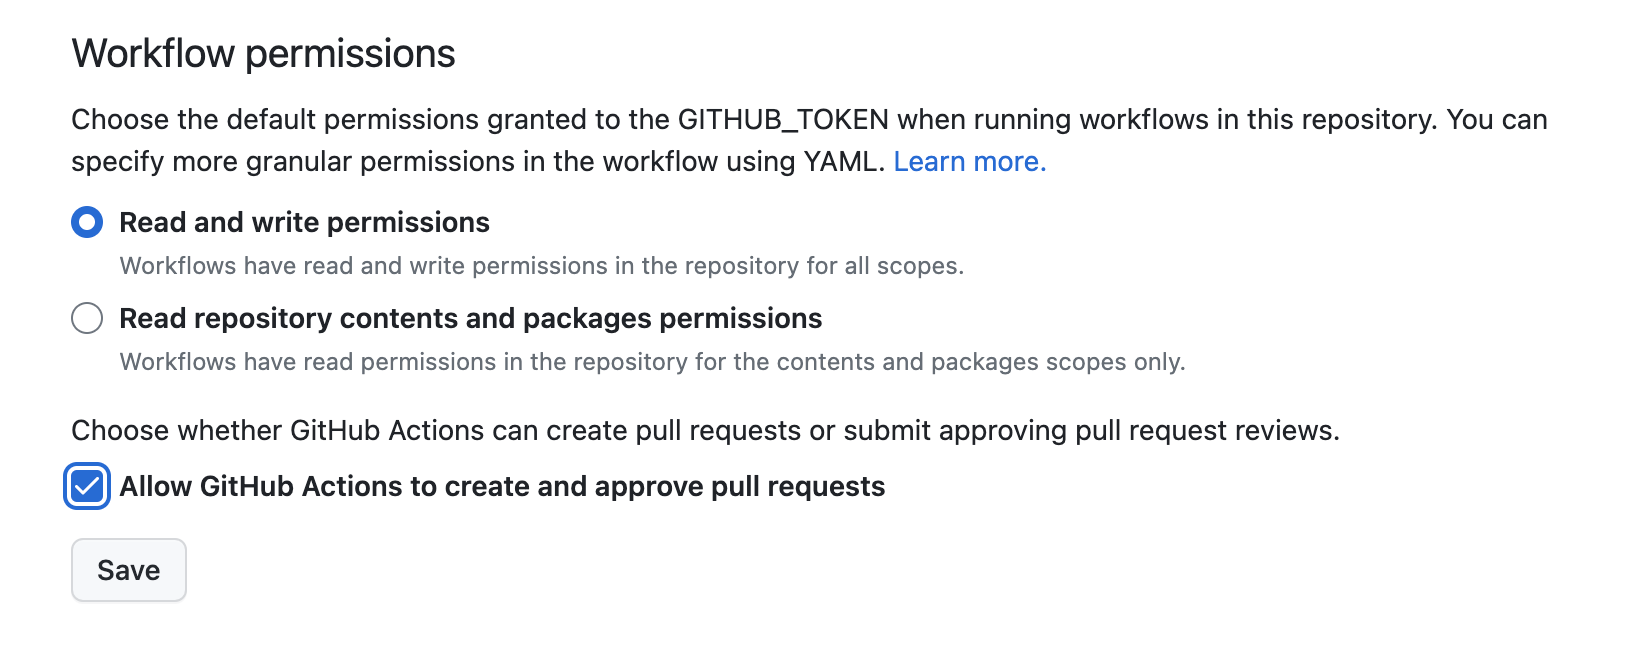
5. Check your GitHub Actions settings
Go to Settings > Actions > General. Make sure you have:
- Given Read and write permissions
- Checked Allow GitHub Actions to create and approve pull requests
Then click Save.
6. Set up your GitHub personal access token
To give OTTR’s robots the permissions they need, set a GitHub Secret called GH_PAT. Go to Settings > Secrets and variables > Actions and scroll down to Repository secrets. (Read more about GitHub Secrets here.)
If you have organization admin privileges and plan to make multiple courses, you can set GH_PAT as an organization secret so you only need to do this once.
- Click New repository secret / New organization secret.
- Under Name, enter
GH_PAT(this exact name is required). - For Secret: create a classic personal access token with
repoandworkflowscopes checked. Copy and paste it as the secret value.
If you encounter any problems, report an issue here.
7. Set up GitHub Pages
In your repository, go to Settings > Pages and configure:
- Source: Deploy from a branch
- Branch:
main, folder/docs
Click Save, then check Enforce HTTPS at the bottom of the page.
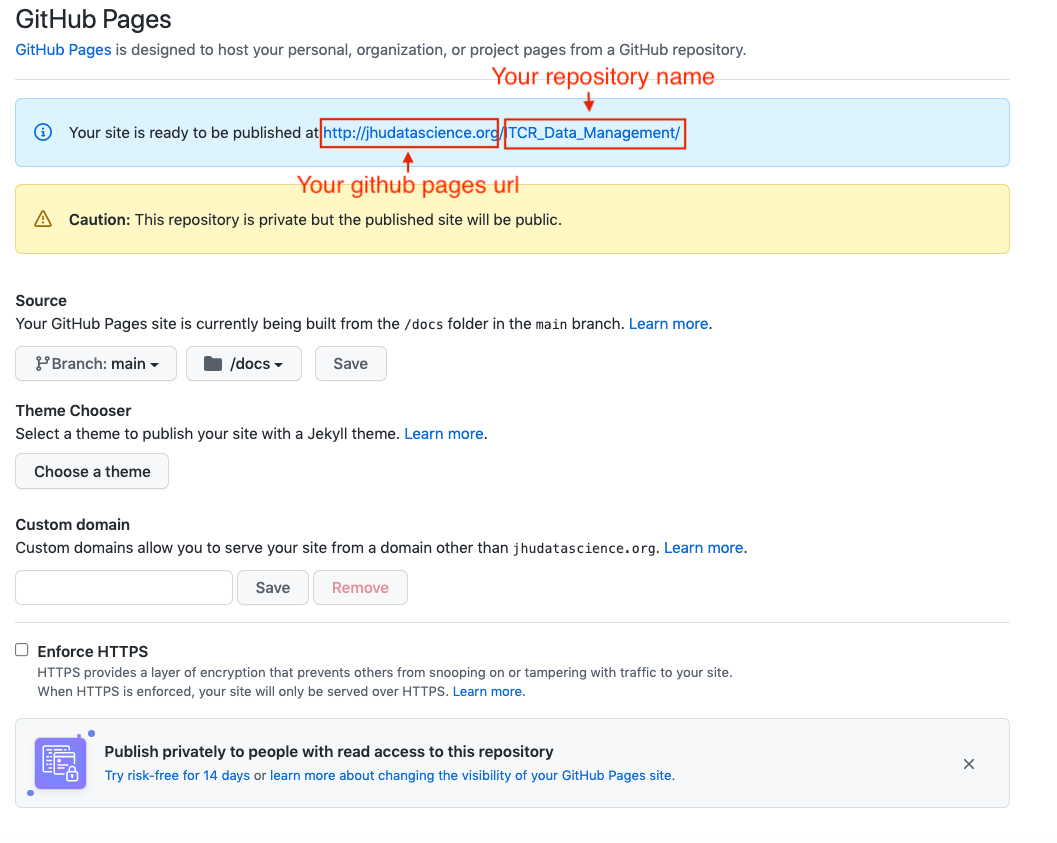
Your course URL will be username.github.io/your-repo-name, displayed under Settings > Pages. You can customize the base GitHub Pages URL (e.g., jhudatascience.org).
Warning: If you visit your URL before pushing any file changes, you may see a 404 error — nothing has been triggered to render yet. Check the URL after filing your first pull request.
8. Enroll for updates (recommended)
The templates are always a work in progress. When updates are made to non-content files (checks, automation), pull requests are automatically filed to downstream repositories.
To get sync updates, add jhudsl-robot as a collaborator with write access: go to Settings > Collaborators & Teams > Add people and search for jhudsl-robot.
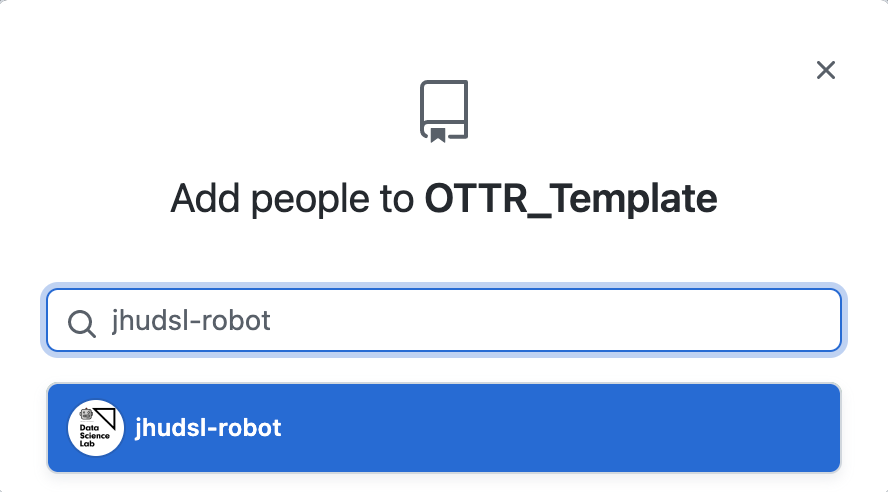
Then add your repository name to the OTTR_Template sync file.
If you’re not a member of the jhudsl GitHub organization, you can:
- Submit your repo info via the OTTR Feedback Google Form
- Open an issue with your repo name and we’ll add it
- Fork the repo, edit
sync.ymlby adding your repo name where it says#NEW REPO HERE#, and open a PR
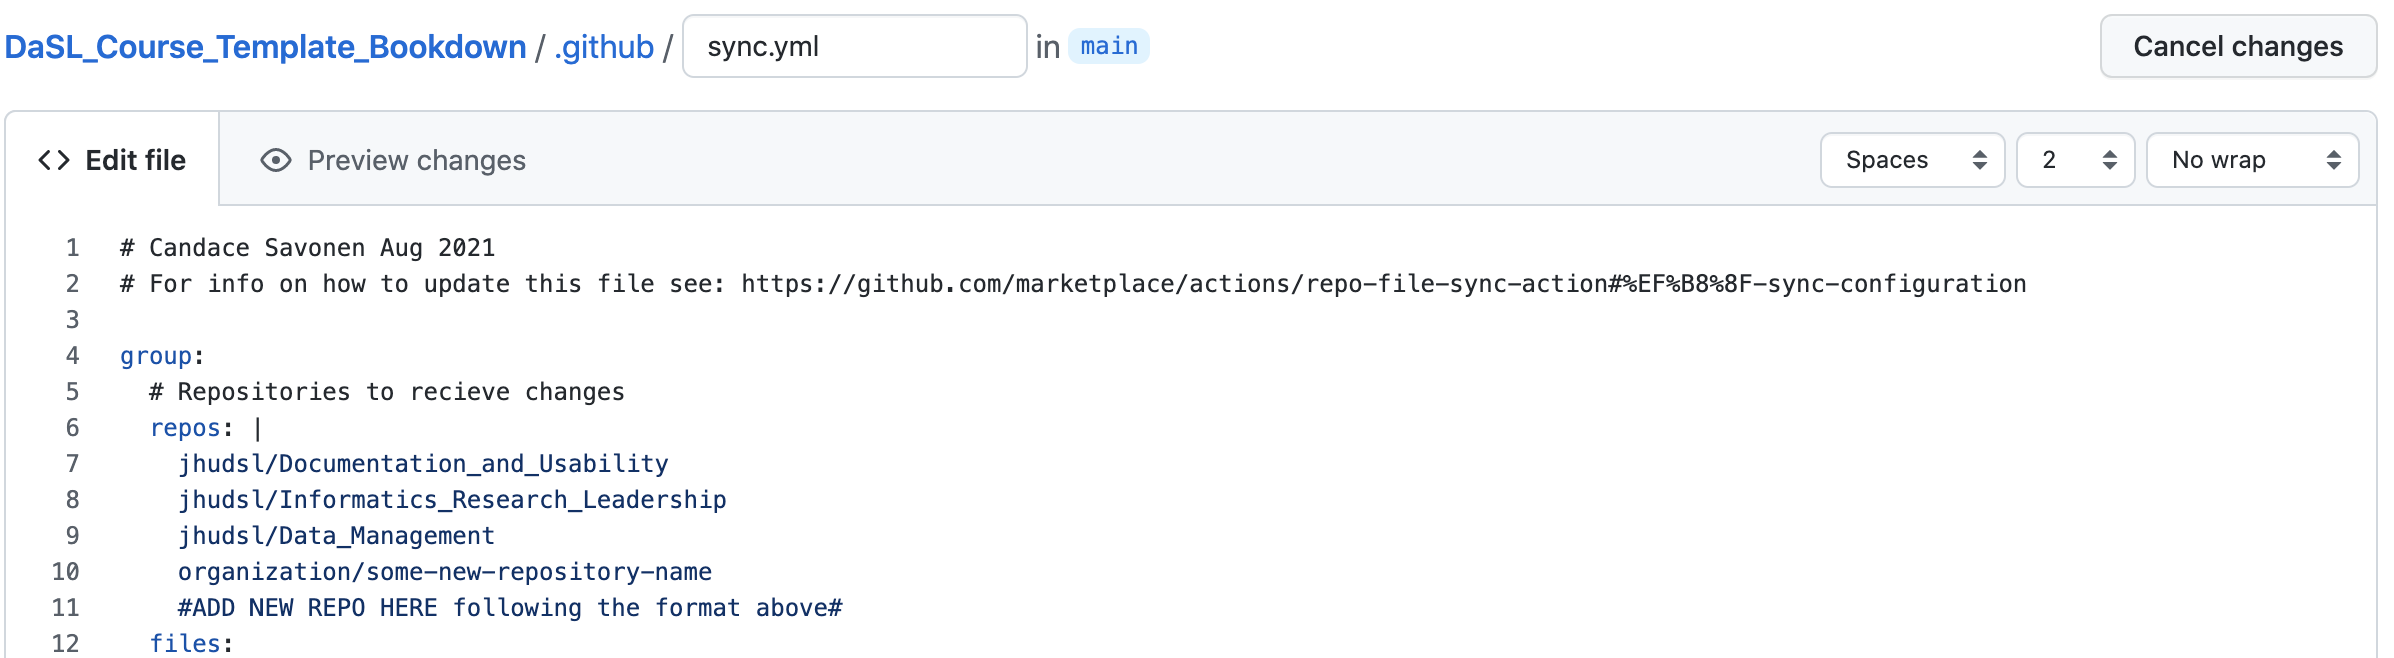
| Repository | Issue Links |
|---|---|
| OTTR_Template | General issue · Add new repo to sync · Update repo info in sync |
| OTTR_Quizzes | Open an issue |
If you have any questions about these updates or files, please tag @kweav or @carriewright11.